SHINGLES
The use of shingles originated in the United States and is gaining in popularity in the Netherlands.
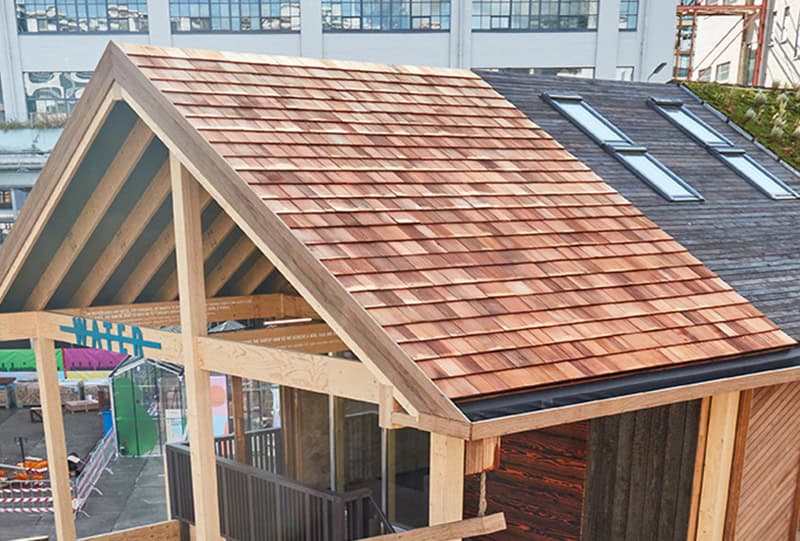
RED CEDAR SHINGLES
These western red cedar shingles are sustainable, have a long lifespan and provide a unique look and feel. Perfect for roofing and/or cladding.
BLUE LABEL
Blue Label shingles are perfect for roofs and facades in a western European climate. They are 100% free of knots and sapwood and meet the highest quality standards.
HISTORY
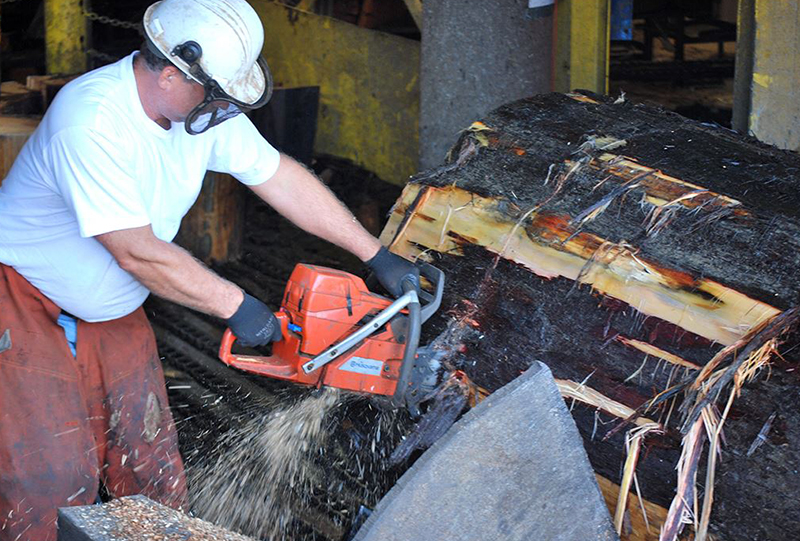
In Canada and the United States, the roofs of the colonist houses were covered with hand-split red cedar ‘shakes’, the frontrunner of roof shingles. Nowadays, the planks are often sawn by machine, and are then called ‘shingles’.
A LUXURIOUS LOOK
With western red cedar shingles for roof or cladding
BENEFITS
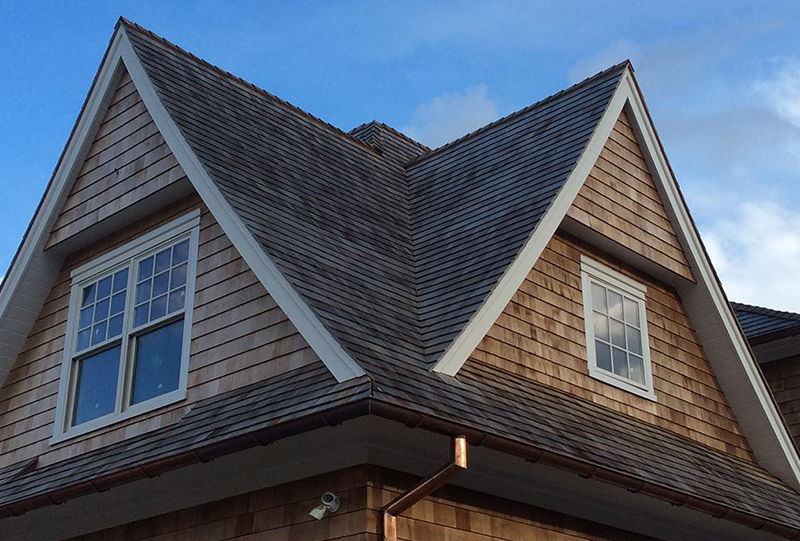
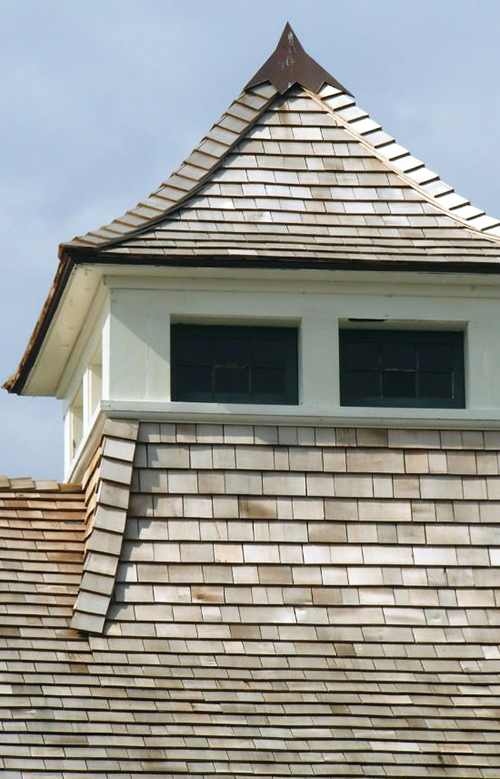
As an architect, using shingles gives you a host of design choices, because you can quite easily cover small roofs and irregular shapes. Hence, there are many houses with little dormers or even towers made from shingles in North America. According to regulations, a shingle roof can be built from 15 degrees up to 90 degrees, which is why it is also suitable as wall cladding. By default, shingles are placed without any finish. The wood is durable enough to brave the weather. With a finish or layer of paint with water-based paint for example, you can give your roof any colour you desire.
PROPERTIES
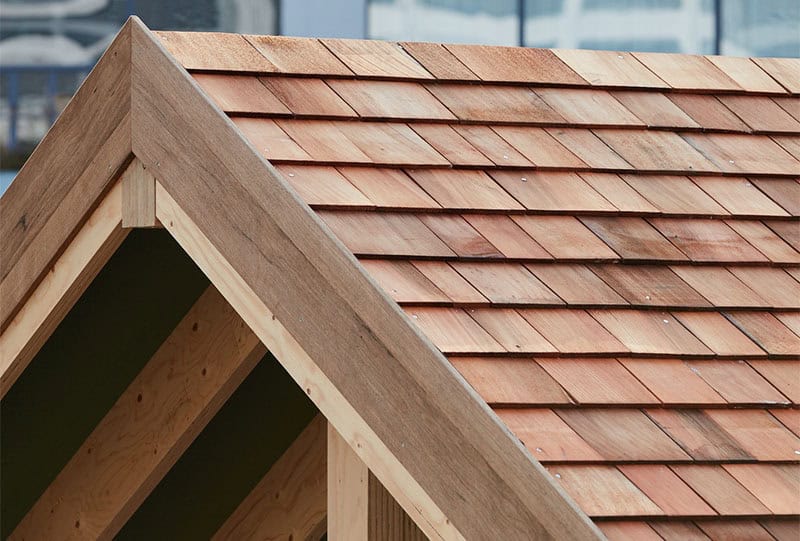
The planks are quarter sawn and dried. The parts are 45 cm long and have a varying width ranging from about 8 to 20 cm. The thickness tapers from about 1 to 8 mm. The contents of one package of shingles is good for 2.3 m2.
The shingles are laid in three layers, overlapping like roof tiles, with the thickest end oriented down. Eventually only 15 cm of the bottom shingle is revealed. The bottom row consists of two shingles that have been placed on top of each other with offset seams.
The shingles are preferably installed on a frame of slats with a 15-cm centre-to-centre distance, so there is ventilation from underneath.
Every shingle must be fixed with two stainless steel nails or staples. The nails are covered by the shingle that is placed on top of it.
Do not place the shingles tightly next to each other; they need some room to expand. Leaving about 5mm in between is ideal.